Last Updated on November 8, 2021 by Marco C.
Do you want to make a DIY air pump? Well then, you’ve come to the perfect place to learn step by step how to make an air pump for a fish tank at home!
Aeration is an important part of any tank system. You cannot bypass this aspect of your fish tank. If you like doing DIY things, it’s great to learn how to make your own air pump.
Of course, there are ways to aerate a fish tank without an air pump. That being said, using an air pump is a great tool to ensure there is enough Dissolved Oxygen (DO) available in the water for your fish.
Different species require different amounts of DO, so be sure to know which fish you are working with. Having an aquaponics system is a delicate balance of many aspects. Take your time to appreciate the fine art of it all.
Read on to find out how to make an air pump for a fish tank!
Your Step-By-Step Guide To A DIY Air Pump
There are a few ways to make a DIY air pump for a fish tank. The method you choose is up to you. It all depends on the reason you want to make an air pump for your fish tank.
Some people do it to save money while others do it for sustainability purposes. Based on your reasons, follow this guide to built it on your own.
Sustainable DIY Air Pump Method
This air pump is the most sustainable option because it does not require electricity to operate. Since I am a sustainability expert, I highly recommend going with this option. The other awesome green incentive is that this method upcycles two plastic bottles.
Even though those bottles can be recycled, recycling requires high amounts of energy and water to do. Upcycling bottles to make an air pump for a fish tank is an excellent green technique.
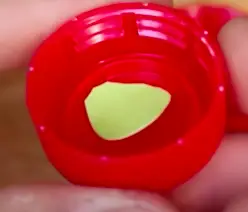
First take two 1 Liter bottles and drill one small hole in each of the caps. You can use a ⅛ drill bit for this hole.
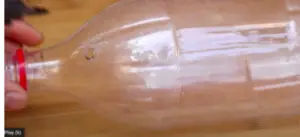
Next take a rubber kitchen glove and cut out two small circles. These circles will then be glued onto the inside of the cap to cover the hole you drilled. See the image below as a reference.
Then take the labels off the plastic bottle and glue the bottoms of the bottles together using superglue and/or hot glue.
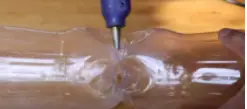
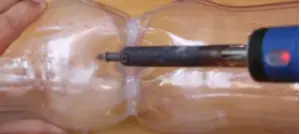
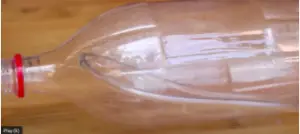
Once the bottles are secured, make two small holes in the bottom of the bottle. You can use a small drill or a soldering iron to make the holes. These holes will house a small piece of tubing which connects the two bottles.
Refer to the picture below to see exactly where to drill the holes.
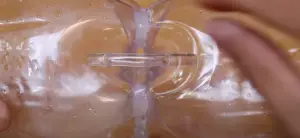
After the holes are drilled insert a small ¼ inch tube in the holes to connect the bottles.
Seal the area around the tubes with hot glue. Do not skip this step. A good seal is crucial in making this system function energy-free.
Next, make one small hole in the top of both bottles like in the picture below.
Once those holes are made, snake an ⅛ inch tube through both holes so it is going all the way to the bottom of the bottle. Be sure to do this for both bottles.
As with the other tube, seal the area around the tube with hot glue.
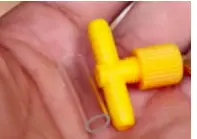
Next, connect the two ends of the tubes to each other using a special connector piece in the picture below.
Final Steps
Then connect the piece pictured below to the other yellow connector. This will enable an airstone to be attached to your air pump.
The last step is to connect your tube and airstone to that piece.
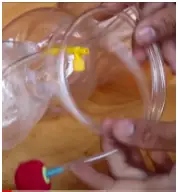
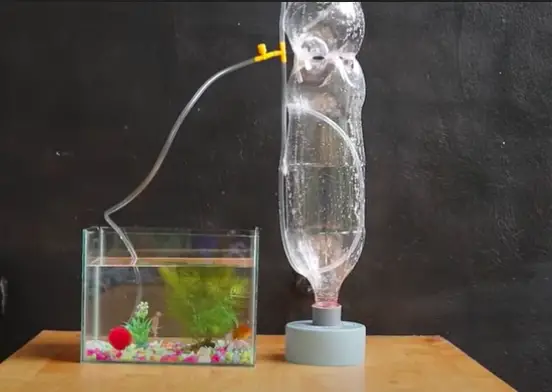
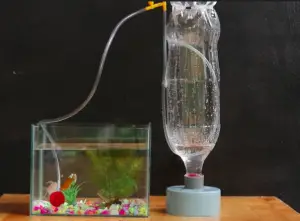
Put the caps on top of each bottle and secure the whole pump system to a holder so that it can stay vertical like in the picture.
Fill the top bottle all the way with water, seal the cap and let gravity do its magic!
Don’t get intimidated by all the steps and feel free to alter the design to fit the materials you have easily available. The main point is to stimulate air through gravity which is then pushed into an airstone which sits in your tank.
When all the water passes through the top bottle into the bottom, you can flip it over to repeat the process. Make sure you find a secure base to sit the bottle filters in. Different PVC pipe fittings could work well for this part.
Fine Tuning The Details
As you can see in this example, the tank is really small. This method may not be the most useful for a larger tank system. Depending on the size of your tank, the easiest option may be to use an electric air pump.
According to Duke University, air pumps provide two functions for the tank. One is to oxygenate the tank by sending bubbles into the water and the other is to push water through your filter.
Regardless on if you choose to make an air pump for your fish tank or buy one, providing air is critical for your tank. Do not skip over this important detail.
This method of a DIY air pump is the cheapest option and the most eco-friendly. You can use different bottle shapes and sizes. Feel free to retrofit the design if you have any old building materials lying around.
The tube size can be changed and make sure you drill the appropriate hole size for your respective tube. If you want to make a larger filter, just change the water container size. Be creative!
As long as air is generated, you made your own air pump.
Doing things DIY is always more challenging than buying something from the store. But don’t let it stop you. Even though it’s not as easy as using your money, you will learn a lot and be empowered to keep building more of your own stuff.
Feel free to comment and ask questions below! We are happy to help!

Candace is an aquaponics expert with over 5 years of experience in the field. She has a degree in environmental science from the University of California, Berkeley and a degree in aquaponics from the University of Florida. She is passionate about sustainable agriculture and has a deep knowledge of aquaculture and hydroponics. She has worked on numerous projects and has been involved in the development of aquaponic systems and fish farms. She also has experience in designing and constructing aquaponic systems. With her expertise, Candace is able to advise clients on the most effective and efficient way to construct and manage their aquaponic system. She is an active member of the aquaponic community, often speaking at conferences and seminars. Candace is dedicated to helping others understand the importance of aquaponics, and she is a strong advocate for sustainable food production.

